
A fun fact about me is that I am highly skilled at making ice cream disappear. Another is that I love trying different flavors (be it something that’s TikTok viral or something as unique as Jeni’s Everything Bagel ice cream). The thing is, I don’t like shelling out large sums of cash for a singular pint. (Does anyone?) So when I walked past the Ninja™ Creami™ Ice Cream Maker ($168, originally $199) at my local Walmart, I backtracked immediately, realizing this could be the solution to paying $10 for fancy ice cream at my nearest Whole Foods. Noticing the Ninja Creami was on sale, I Google Searched the product on my phone and was excited to see that it had nearly perfect five-star reviews across the board. I needed to understand the hype, so I purchased it and put it to the test. Ahead, I break down my experience using this ice cream maker for the first time in photos — and lots of mouth-watering details.
What I Like About This Ice Cream Maker
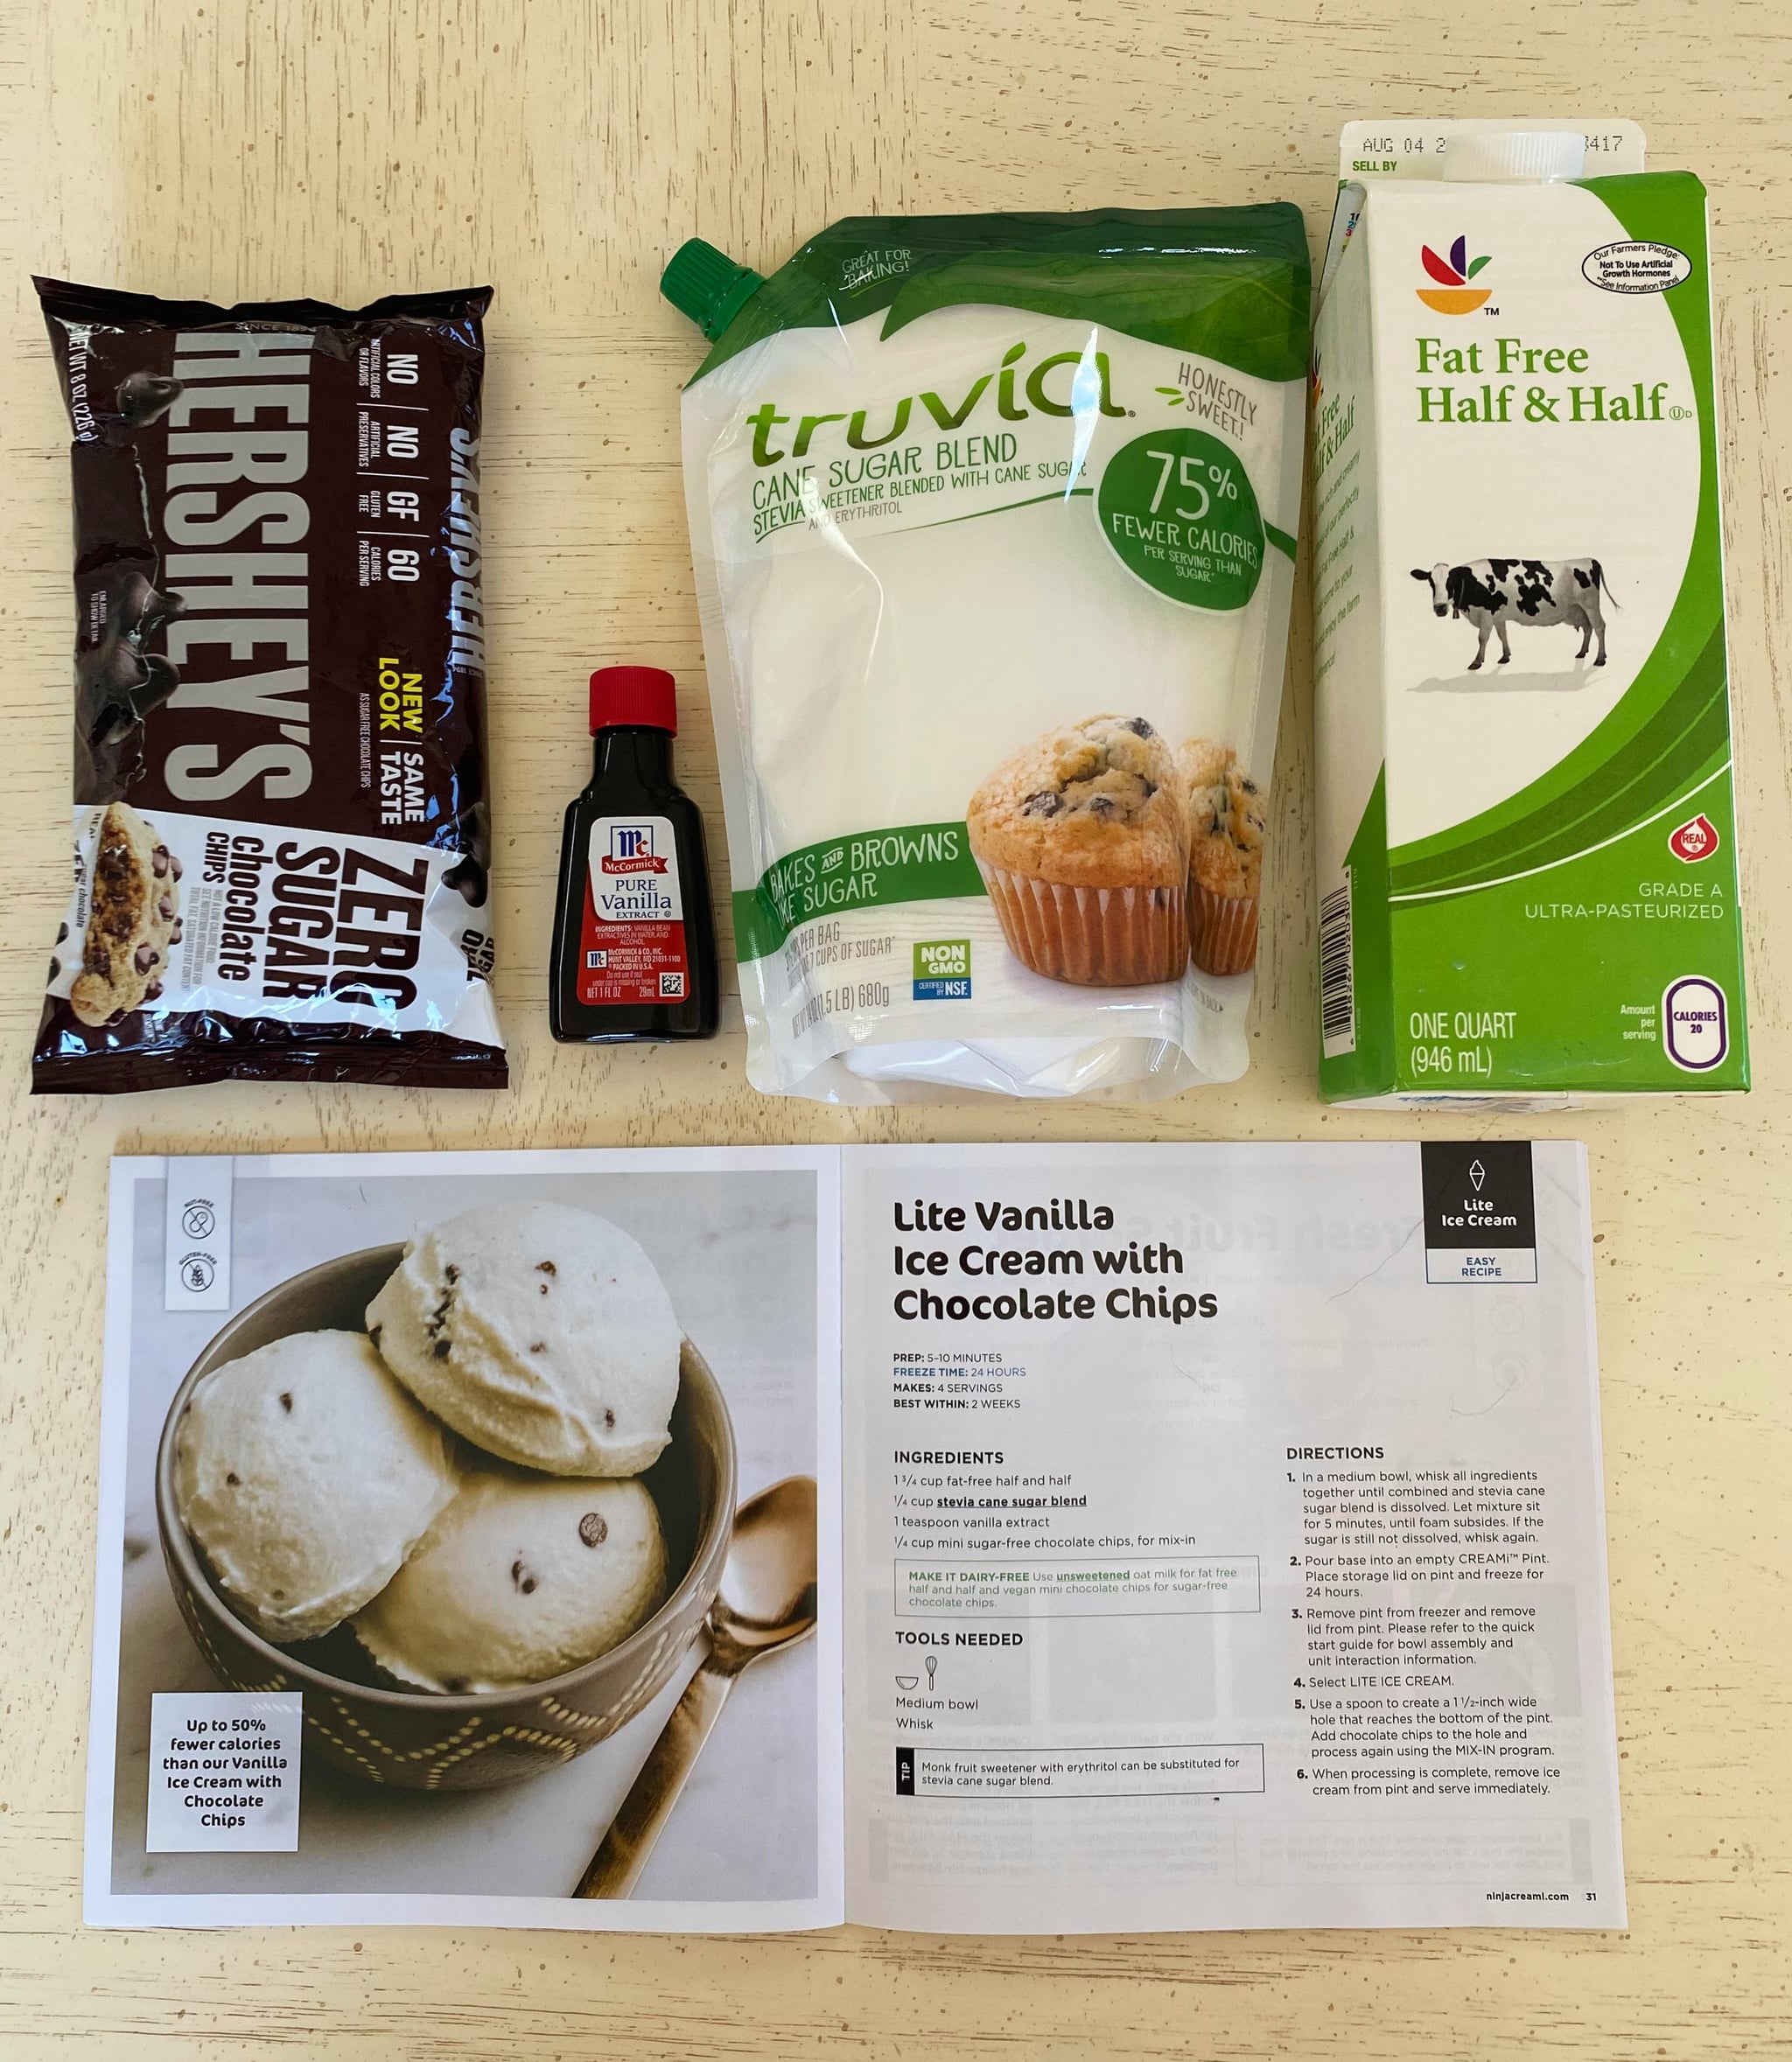
What I like about this ice cream maker, for starters, is that it’s compact. It’s tall, sure, but it’s not wide or bulky, which saves major counter space. But the biggest draw of all is that using it really is as easy as the brand claims. It comes with a booklet containing 15+ Ninja Creami recipes for ice cream, “lite” ice cream, sorbet, and milkshakes — and after studying all of my options, I opted to test out the Lite Vanilla Ice Cream With Chocolate Chips. The hardest part was rounding up the ingredients, and even that was a breeze. The recipe only called for four: fat-free half and half, stevia cane sugar blend, vanilla extract, and mini sugar-free chocolate chips. Here’s what the process looked like from start to finish:
1. Gather Ingredients
Below, get a look at all of the ingredients I used to make the aforementioned chocolate chip ice cream.
2. Whisk the Ingredients Together to Create the Base
The next step, per the instructions, was to mix all of the ingredients (minus the chocolate chips, which are considered a mix-in, so are added later in the process) in a medium bowl until the sugar blend dissolved. Then, I left it sit for five minutes to let the foam subside.
3. Pour Mixture Into an Empty “Creami” Pint
I carefully poured the mixture into one of the two pints provided with the machine. Then, I secured it with the accompanying storage lidd and stored it upright in the freezer for a full 24 hours.
4. Churn Ice Cream and Then Mix In Chocolate Chips
Once the 24 hours was up, I took the lid off the pint containing the frozen base, placed it into the “outer bowl,” and secured it shut with the “outer bowl lid.” Once it was locked into place, I pressed “Lite Ice Cream,” which, in a matter of 90 seconds, transformed the base into supermarket-worthy ice cream.
Next, the recipe stated to “create a 1.5-inch wide hole that reaches the bottom of the pint,” but doing so wasn’t easy since the texture of the ice cream was rather soft. I ended up taking my chances and dumping the chocolate chips in without creating a hole. (Spoiler alert: It still came out amazing.)
Next, I put the “outer bowl” back on the pint and repeated the process of locking it into place, but this time, I selected “Mix-in” instead of “Lite Ice Cream.” I’m pleased to reveal that it still mixed the chocolate chips well, though I do recommend trying to make a hole in the ice cream as advised, if possible.
6. Serve!
Not to be overly dramatic, but I couldn’t stop smiling after diving into this ice cream. While I expected this ice cream maker would meet my expectations based on the five-star ratings, it truly exceeded them — and I’m convinced it will do the same for you, too.
What’s Worth Noting
This ice cream maker is undeniably pricey, but that’s because of its competitive features. For example: Unlike competitor brands, you aren’t required to freeze the ice cream print 24 hours before making ice cream. You do, however, have to freeze the base (the recipes’ core ingredients) for at least 24 hours before it can be churned into an ice cream texture. Another compelling feature is its presets, like those designated for ice cream or smoothie bowls, specifically.
My one and only complaint about this device is that it’s undeniably loud. It’s not a deal-breaker for me, personally, but in all honesty, it may be jarring to some.
Who Is This Ice Cream Machine Best For?
This ice cream machine is great for ice cream aficionados of all kinds. My fiancé and I are most excited about creating healthy-ish ice cream alternatives that don’t cost $10 bucks a pint. After devouring our Lite Vanilla Ice Cream With Chocolate Chips, we decided to get a little creative with a can of pineapple (leaving in the juice). We went about the same process as we did with our original cream base ice cream, and were amazed by how it came out looking and tasting like gourmet sorbet. We expected it to have a fibrous texture, but it was the exact opposite: decadent, creamy (despite not having cream) and all-around delicious.
- This machine comes with a total of seven features designed for ice cream, sorbet, milkshake, lite ice cream, mix-ins, gelato, and smoothie bowls.
- It takes just 90 seconds to churn ice cream in this machine after being left in the freezer for 24 hours.
- All of this machine’s accompanying parts are dishwasher safe (but utilize the top rack only).
- Your ice cream can be reprocessed if you’d like to achieve a softer consistency — just be sure to use the same preset you used initially.
Rating:
Image Source: POPSUGAR Photography / Marisa Petrarca